- Introduction
- Factors That Influence the Time to Install Hardwood Floors
- Type of Hardwood Flooring
- Square Footage and Room Layout
- Subfloor Condition
- Installation Method
- Finishing (Sanding, Staining, Sealing)
- Step-by-Step Guide to Installing Hardwood Floors
- Step 1: Preparation and Planning
- Step 2: Acclimating the Hardwood
- Step 3: Subfloor Preparation
- Step 4: Installation of Hardwood Flooring
- Step 5: Sanding, Staining, and Finishing (For Unfinished Floors)
- Step 6: Cleanup and Final Touches
- Average Time to Complete Installation of Hardwood Flooring
- Tips to Speed Up the Installation Process
- Hire a Professional Installer
- Order Materials in Advance
- Prepare the Area Ahead of Time
- Common Delays During Hardwood Installation
- Weather Conditions
- Unforeseen Subfloor Issues
- Customization and Patterned Floors
- Cost vs. Time Trade-off
- Faster Installation, Higher Costs
- Saving Time with Prefinished Hardwood
- Maintenance Tips for Newly Installed Hardwood Floors
- Conclusion
- FAQs
Table Of Contents
Introduction
One of the popular flooring choices among homeowners for centuries is hardwood floors. Hardwood floors have impressive aesthetic appeal, exceptional durability, and multiple color choices, which increase the beauty of rooms with their timeless beauty. Not only that, the finishing and beautiful designs of hardwood make it more trendy.
If you are worried about how long it takes to install a hardwood floor, you don’t need to. Here is our complete timeline guide for you about the types of hardwood, maintenance tips, installation process, complexity of installation, and cost.
Furthermore, it is better to have a timeline for the hardwood installation process to avoid any disruption. This will help you better plan for budgets and cost expectations. Let’s learn more about it.
Factors That Influence the Time to Install Hardwood Floors
Type of Hardwood Flooring
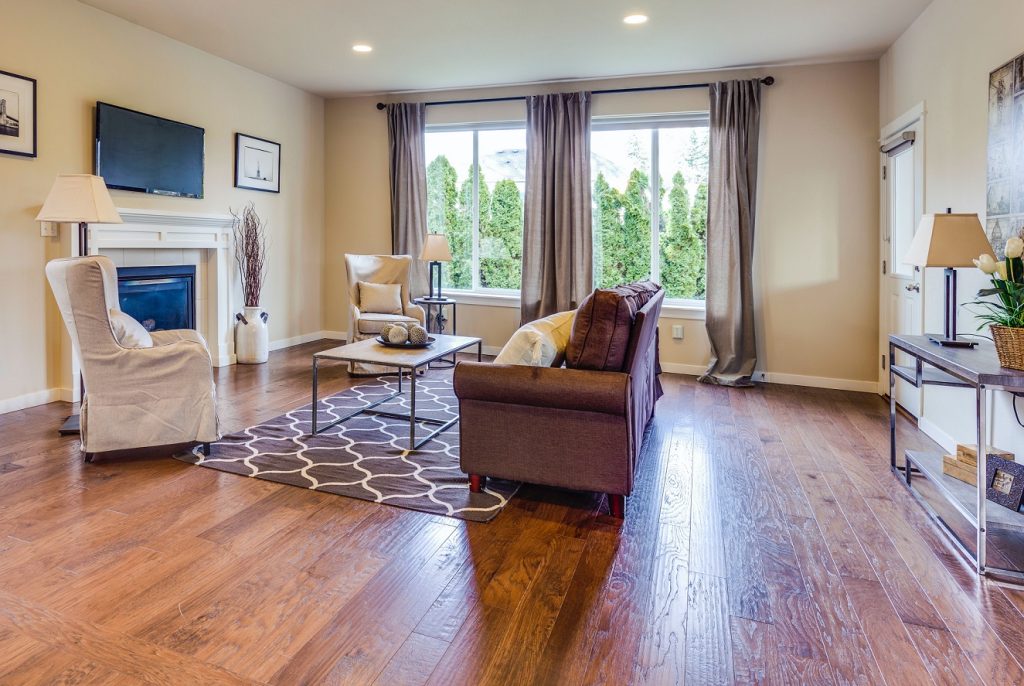
The time for hardwood installation directly connects with which type of hardwood you choose. In the case of your solid hardwood planks, the installation process will take more time because it mostly requires nailing or stapling of that single wood which increases time. But it is completely opposite in engineered hardwood, as they have been made with wood layers, so it becomes easy to install and hence less time-consuming. Even in most cases, it does not need extra preparation as it can be installed over already existing floors.
Your hardwood flooring time can also be impacted by prefinished and unfinished wood. For instance, your prefinished hardwood comes with ready-made installment, so no additional finishing is required, which saves you time. However, it is not the same in the case of unfinished wood, which requires sanding, sealing, and staining after the installation, which directly impacts the time.
Square Footage and Room Layout
Your room size and layout also determine how long hardwood installation will take. You will get quicker installation with large spaces, as it will need fewer cuts and adjustments. However, in smaller spaces with corners, angles, and obstacles, it needs precise cutting and fitting, which needs time. Hence, it is better to understand the layout of your room before starting the hardwood installation process.
Subfloor condition
If your subfloor is damaged or not smooth, it will require repair or leveling up before the installation. This repair would take extra hours or even days, which adds extra time. However, no extra time will be needed for smooth flooring unless there are some problematic additions.
Installation Method
There are multiple installation methods for hardwood, so all require a specific time. In the nail-down method, as it is mostly for solid hardwood, precise nailing is needed, which can be time-consuming. For the engineered wood, the glue- method is mostly preferred. But it needs extra care while applying adhesive, which can also slow down your things. On the other hand, the easiest installation is for floating floors as they don’t have any nailing or glue method. The planks simply click together and rest on the subfloor, which makes this method a time-efficient choice.
Finishing (Sanding, Staining, Sealing)
If you are installing finished or unfinished hardwood, it involves sanding, staining, and stealing. As the sanding helps to smooth the surface, it can take a day or two. For staining, it adds colors for coating; hence, it will require drying time. Lastly, sealing helps protect the wood and dry it. So, all these processes can influence the hardwood installation timeline.
Step-by-Step Guide to Installing Hardwood Floors
Step 1: Preparation and Planning
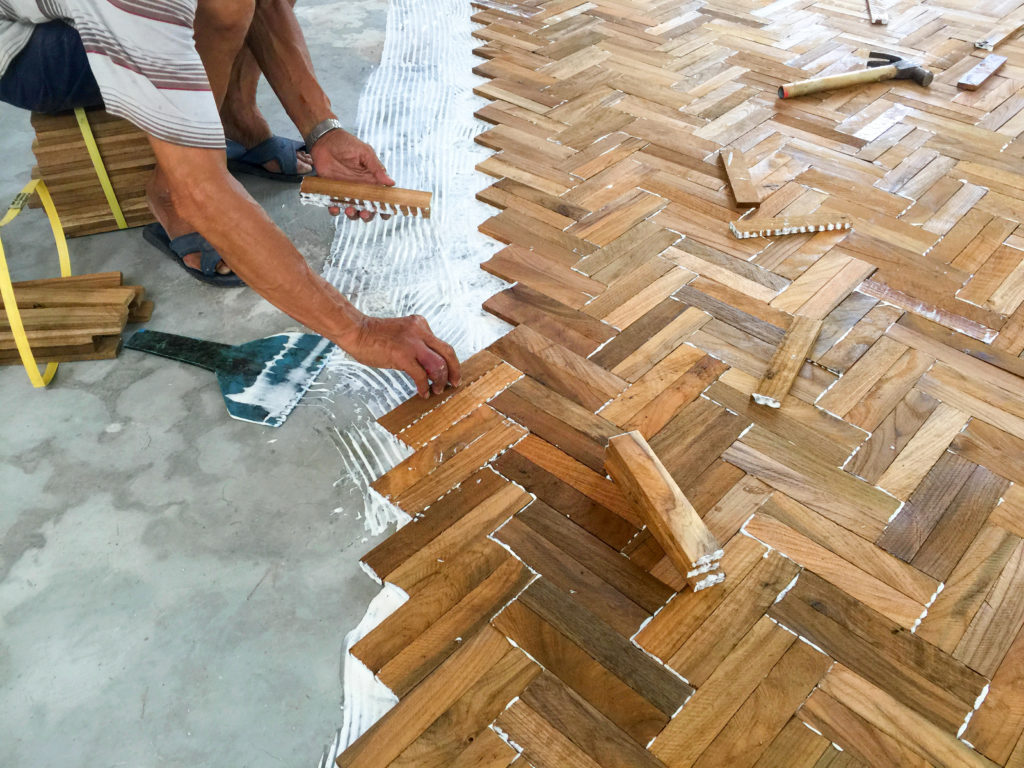
In hardwood installation, the proper measurement of space and choosing the right material is important. Further, it requires removing the furniture and existing flooring for a smooth process. For this, you can use a checklist that includes clearing the room, ordering materials, and verifying the subfloor condition to ensure everything is ready. It will take 1-2 days estimated, depending on the type of substance and material you use.
Step 2: Acclimating the Hardwood
To avoid any warping, it is necessary to acclimate hardwood to the humidity and temperature of the room. For this, place the boards in the room and leave; it will take around 3-5 days. To speed up the process, you can optimize the condition by keeping the stable room temperature or even using a dehumidifier.
Step 3: Subfloor Preparation
For a well-prepared installation, level your subfloor, clean it, and check for moisture issues. This step generally takes one day, but it may take longer if repairs are needed. You can even consider a visual element like a diagram to ensure smooth surfacing.
Step 4: Installation of Hardwood Flooring
The installation process of your hardwood can take 2-5 days, which completely depends on the method and the room size.
- Nail-Down Method: Secure boards with nails using a nail gun.
- Glue-Down Method: Apply adhesive and wait for it to dry.
- Floating Method: Click the boards together for a quick installation. Have all your tools ready to minimize delays.
Step 5: Sanding, Staining, and Finishing (For Unfinished Floors)
If you are choosing an unfinished floor, sanding would be helpful to smooth the surface along with staining and finishing. It can typically take 2-3 days; however, drying mostly takes 24 hours to stain and several days for curing.
Step 6: Cleanup and Final Touches
It is the time to give the final touches to your hardwood. First of all, remove and clean all the dust and debris. Now, you can move your furniture back into the area and check if there are any issues. So, this whole process could take you one day.
Average Time to Complete Installation of Hardwood Flooring
The total time for the installation depends on the type of hardwood, room size, and whether it is prefinished or unfinished, so guessing the exact time is difficult. But here is the breakdown of the average time, which could help you.
| Type of Hardwood | Estimated Time |
|---|---|
| Small Room, Prefinished Hardwood | 4-5 days |
| Small Room, Unfinished Hardwood with Finishing | 6-8 days |
| Large Room, Prefinished Hardwood | 5-7 days |
| Large Room, Unfinished Hardwood with Finishing | 7-10 days |
If you’re a homeowner planning to install hardwood, consult with our experts to get the best flooring results.
For your luck, if you are a resident of Edmonton and searching for the best flooring store, you have already found it right away. We are the leading choice among flooring stores in Edmonton. Visit our showroom today to discover why we are the top flooring store in the area!
Tips to Speed Up the Installation Process
Hire a Professional Installer
It is suggested that you hire a professional installer to save time and ensure quality work. The professionals know the basics and will make fewer mistakes, which can be an efficient process. But make sure to look for experienced professionals with good reviews of your specific hardwood type.
Order Materials in Advance
The best trick to avoid any disturbance and delays is to always order your hardwood materials in advance. This can be your hardwood flooring, underlayment, and necessary tools.
Prepare the Area Ahead of Time
Nothing can work better than preparing your flooring area before installation. To do this, remove your furniture, rugs, and existing flooring. This will allow your installers to start immediately, which means a smooth experience.
Common Delays During Hardwood Installation
Weather Conditions
Weather can have a lot of impact on your installation process. For example, the cold temperature or humidity can slow down your furnishing and acclimation process. Because the humidity will make wood longer to adjust according to room temperature, and the same is true for cold, it would make wood dry for a long time.
Unforeseen Subfloor Issues
Any uneven surfaces would extend the installation process, as it takes time to recover them or make them a proper levelling surface. Hence, you are advised to check the floor keenly to avoid any extension in time.
Customization and Patterned Floors
You must know that choosing simple designs takes less time than complex designs. Like in herringbone or parquet patterns, it will require more precise cuts and adjustments, which will automatically add time to your process.
Cost vs. Time Trade-off
Faster Installation, Higher Costs
Be mindful about the faster installation, as it can lead you to higher costs than usual. For example, choosing prefinished hardwood may speed up the process, but it usually comes at a premium price compared to unfinished wood.
Saving Time with Prefinished Hardwood
In case of budget-friendly cost, you must go for prefinished hardwood. Because of this, there is no need for sanding and finishing, which means less labour cost. The wood is ready to install right out of the box, which makes the installers complete the process faster.
Maintenance Tips for Newly Installed Hardwood Floors
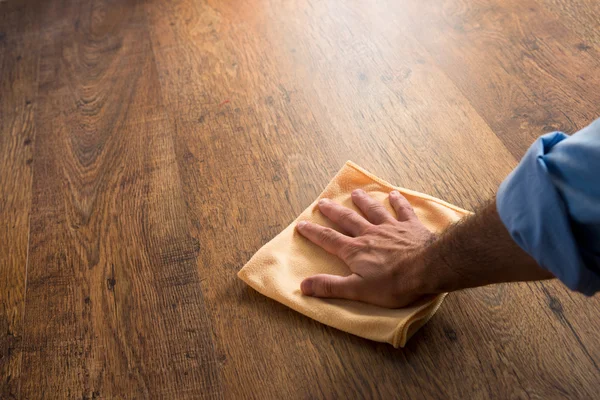
To take care of your new hardwood floors, first, you need to remove dust and debris. For this, you can use felt pads, and they can help you in avoiding scratches. However, if you are looking for long-term, make sure to use a vacuum or sweep with a damp mop. Lastly, you need to fix any damage quickly to keep your floors looking great.
Conclusion
With the proper planning, you can make your floor installation process smooth and budget-friendly. Make sure to follow the above tips such as hiring professionals or ordering material in advice to avoid any delay in your process.
We’d love to hear from you! Please leave comments or ask questions below. If you need professional installation services or a quote, don’t hesitate to reach out. We’re here to help!
Frequently Asked Questions
How long does it take to install 1000 square feet of hardwood floors? [+]
If you are planning to install 1,000 square feet of hardwood floors, it can take you 3 to 7 days. However, it totally depends on the type of hardwood and the complexity of the layout.
How long do you need to wait before walking on new hardwood floors? [+]
You should wait at least 24 hours before walking on newly installed hardwood floors. Otherwise, improper adhesives will cause problems for you.
Can you stay at home during installation? [+]
Yes, you can usually stay in your home during installation. However, it can be noisy and disruptive, especially if multiple rooms are being worked on.
When should you not install hardwood floors? [+]
It is suggested that hardwood floor installation be avoided in humid temperatures or damp areas, like basements, especially during extreme weather conditions that could affect the wood’s stability.
How many years do hardwood floors last? [+]
Hardwood floors can last 20 to 100 years or more. But it depends on the type of wood, maintenance, and wear over time.
How soon can you put furniture on hardwood floors? [+]
You should wait at least 48 hours before placing furniture on newly installed hardwood floors for the proper furnishing.

